Use a small, testable production loop to make a Backrooms game in Roblox before expanding the map or adding complex scares.
Game design planRoblox StudioPlay TestSafe publish
Quick answer
Prototype the player loop before you build the horror
To make a Backrooms game that players can actually finish, start with one spawn, one readable route, one interaction, and one testable ending. Use Roblox Studio Parts for the greybox, Play Test for the route, and version notes for every meaningful change. Add fluorescent light, sound, entities, and lore only after the basic loop works. This keeps a realistic Backrooms game understandable and gives you evidence when a change helps or hurts.
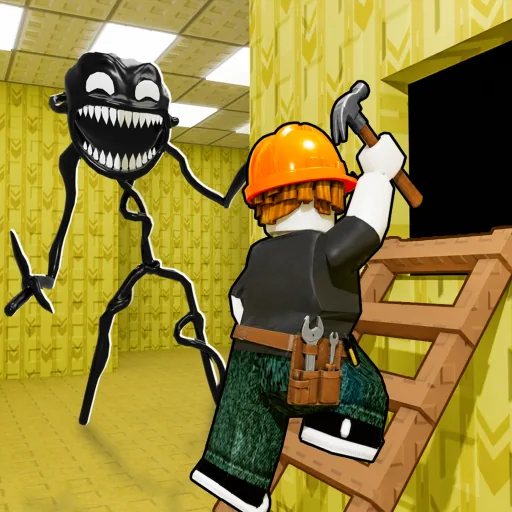
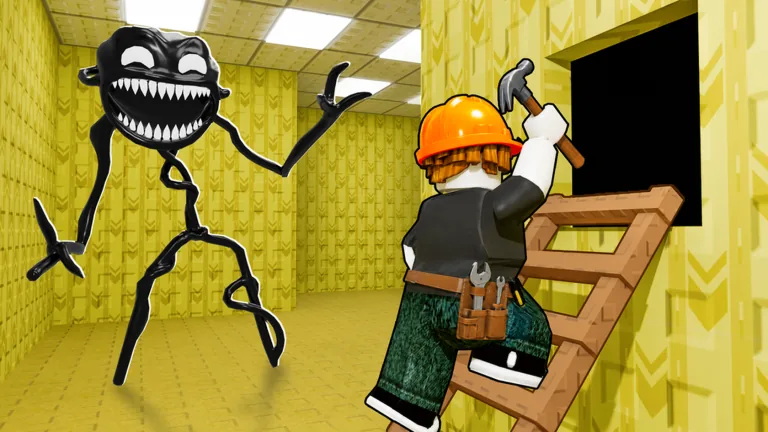
Official Roblox thumbnail used as game context. It shows the published experience, not a step-by-step editor screen.
Production path
How to make a Backrooms game in 7 testable steps
Treat each step as a checkpoint. A small working loop teaches you more than a giant map that cannot be tested from a fresh spawn. Keep the first version narrow enough to rebuild in one sitting.
Step
What to do
Pass condition
1. Define the promise
Choose what the player does in the first five minutes: escape, explore, collect, or survive.
The objective fits in one sentence and has a visible first action.
2. Draw the loop
Sketch a spawn, a main route, one decision point, and an exit or reset.
You can name the next turn without opening the editor.
3. Greybox in Studio
Use simple Parts for floor, walls, ceiling, doors, and one landmark.
A fresh player can walk the route without clipping or getting trapped.
4. Add the mood
Tune light, sound, empty space, and materials after the route is readable.
The atmosphere creates tension without hiding the route or the exit.
5. Add one interaction
Build one trigger, puzzle, door, or entity with a clear reset path.
The interaction can be tested in isolation and explained to a new player.
6. Play Test and record
Run from a fresh spawn, repeat the loop, and note where players stop or turn back.
You have a short change note and a repeatable result.
7. Version and publish
Save a known-good version, review permissions and assets, then publish the tested file.
You can restore the last working build if the next edit fails.
Design decisions
Which choice makes a Backrooms game easier to test?
Pick the smallest design that answers the current question. More rooms, effects, and scripts increase the number of possible causes when something breaks.
Question
Safer first choice
Why it helps
Will players understand the objective?
One action and one visible landmark
You can observe comprehension before adding lore.
Does the maze guide movement?
A short loop with one deliberate turn
The route is easy to replay and compare.
Does the horror mood work?
One light and sound change
You can separate atmosphere from navigation problems.
Does an entity change the run?
One entity on one tested lane
A single variable is easier to retest.
Is a puzzle fair?
One clue, one input, one reset
Players can tell what they tried and why it failed.
Is the map ready to share?
A saved version with a short test log
You can explain what was checked and roll back safely.
Creator notes
Start with a player promise, not Backrooms decoration
A Backrooms game can be yellow corridors, a maze, a chase, or a quiet exploration space. The visual reference is not the mechanic. Decide what the player should do first and what a successful five-minute session looks like. If the answer is ‘walk around and see what happens’, add one readable landmark or interaction so the first action is visible. This also keeps the page boundary clear: a game-making guide explains how to build and test a place, while the Build Your Backrooms player guides explain how to play the published experience. Write the promise in the project notes before you open the asset browser.
Creator notes
Draw the smallest loop that can prove the idea
A useful first map has a spawn, a route, a decision point, and a way to finish or reset. Draw those four points on paper or in the layout generator before adding side rooms. A compact loop makes it possible to compare two runs and see where players hesitate. It also gives you an honest baseline for a later monster, puzzle, or money system. If the loop cannot be explained in one sentence, cut a branch rather than decorating the confusion. A small route is not a limitation; it is a test harness for the larger game.
Creator notes
Greybox with Roblox Studio Parts
Use basic Parts to answer movement questions before you choose textures or detailed models. Check corridor width, turn radius, ceiling height, spawn direction, and collision from the player camera. Duplicate repeated wall modules and record their dimensions so you can rebuild a section after a bad edit. The official Roblox Parts documentation is the right reference for current editor behavior. The linked Studio guide goes deeper into selection, transform tools, lighting, and Play Test; this page keeps those details in the broader production order. Do not call a map finished because it looks good from the editor camera.
Creator notes
Add atmosphere without hiding the route
Fluorescent light, hum, fog, empty rooms, and repeated textures can create the Backrooms mood, but they should reinforce a route the player can already complete. Add one mood change at a time: lower the light, place a sound, or remove a landmark, then run the same loop. If players miss the exit because every corridor has the same contrast, restore one readable cue. A realistic Backrooms game is tense because the player doubts what is ahead, not because the game conceals the controls, collision, or objective. Keep accessibility and device performance in the test notes.
Creator notes
Add one interaction before a system
A door, clue, trigger, or entity is enough for the first interactive build. Give it one input, one response, and one reset path. This lets you verify that the event fires from the player context and that a failed attempt does not soft-lock the run. Avoid adding several scripts at once; when the result changes, you will not know which event caused it. Use Roblox Creator Hub documentation for the current scripting and security model. Never ask players to install executors, bypass Roblox protections, or download an unknown place file. A creator tutorial should make the project inspectable and safe to share.
Creator notes
Play Test from a fresh spawn and record evidence
The editor camera can hide a bad spawn, a collision seam, or a camera clip. Start every check from the same fresh spawn and walk the complete loop twice. Note where a new player stops, which landmark they use, how long the first objective takes, and whether the trigger resets. A short log such as ‘widened the second turn; retested on desktop and mobile’ is more useful than a screenshot with no context. When a result is uncertain, label it as an observation rather than a rule. This keeps a Backrooms map guide honest as Roblox and your own place change.
Creator notes
Save versions before expanding the map
Save a known-good version before changing the lighting, terrain, entity, or route. Expand one branch at a time and keep the original loop visible in the project notes. If the new branch reduces clarity, restore the last working version and test the branch in a small copy. This workflow also protects collaborators: they can see which file was checked and what remains experimental. The phrase ‘Backrooms map Roblox Studio download’ often points to templates or files with unclear ownership; this guide does not promise a download or a safety scan. Prefer official Creator Hub references and assets you can inspect.
Creator notes
Publish a tested build and define its limits
Before publishing, review the place permissions, external asset licenses, scripts, spawn behavior, performance on the target device, and the first-session objective. State what the build contains and what is still a prototype. A public link is not proof that every room, entity, or level is complete. Keep update notes with the date and the tested version so future changes can be retested. Link player-facing strategy to the Build Your Backrooms guide and mechanics pages; link editor questions to the Roblox Studio guide. Clear boundaries reduce copied claims and help readers choose the right next step.
Visual references
Use real game and Studio references while you build
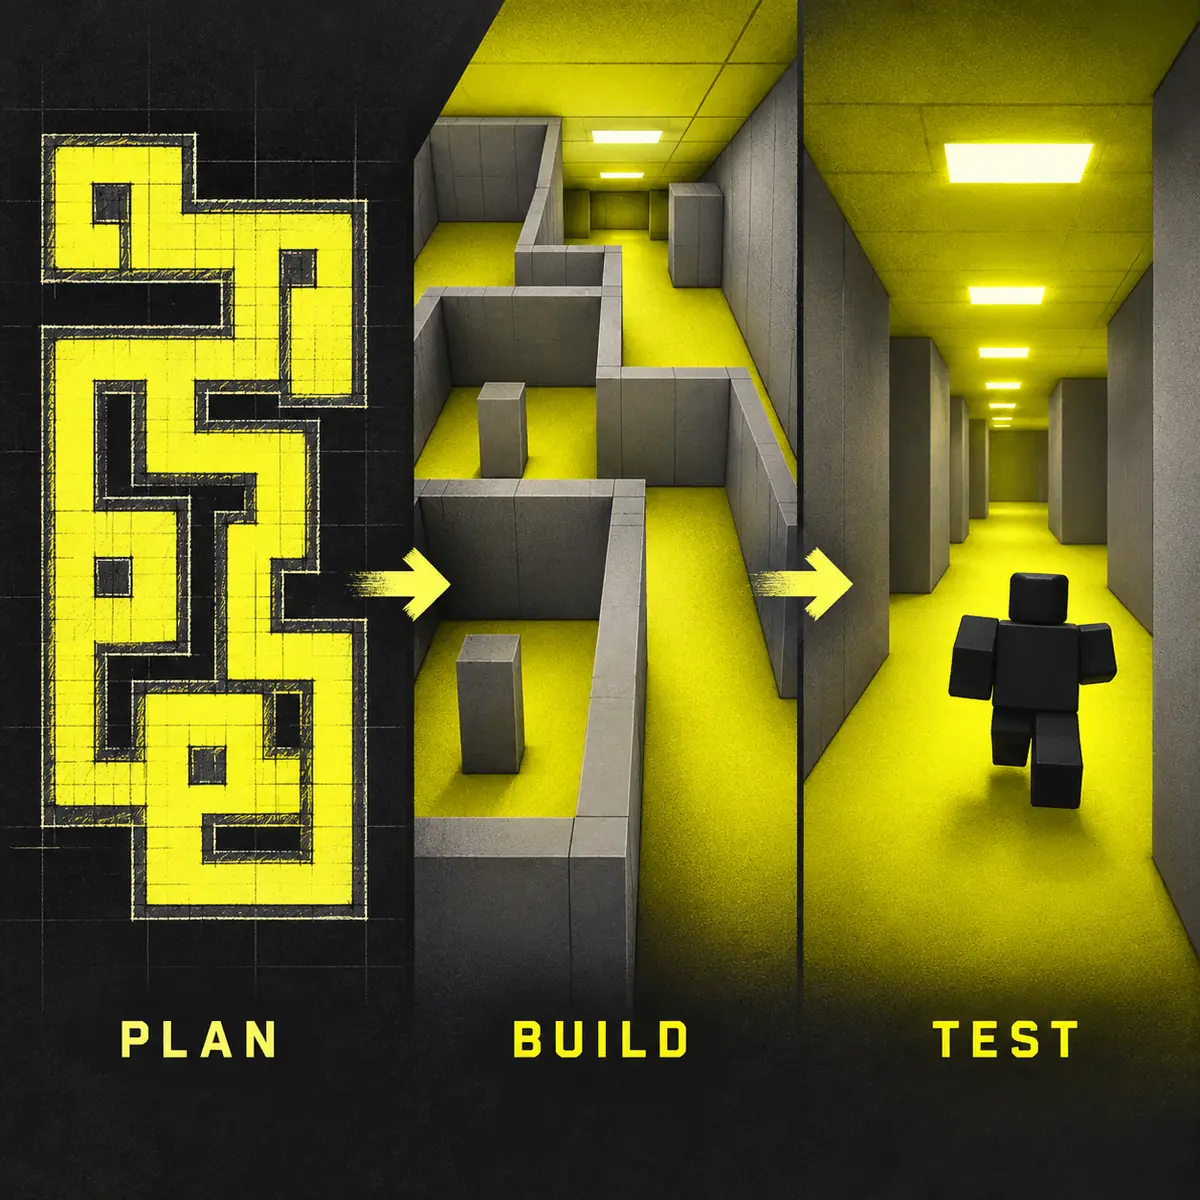
The feature image gives game context. The in-body references show a practical build sequence: plan the route, use a simple Part, and repeat transform steps in Studio. They are visual aids, not proof that every project should look identical.
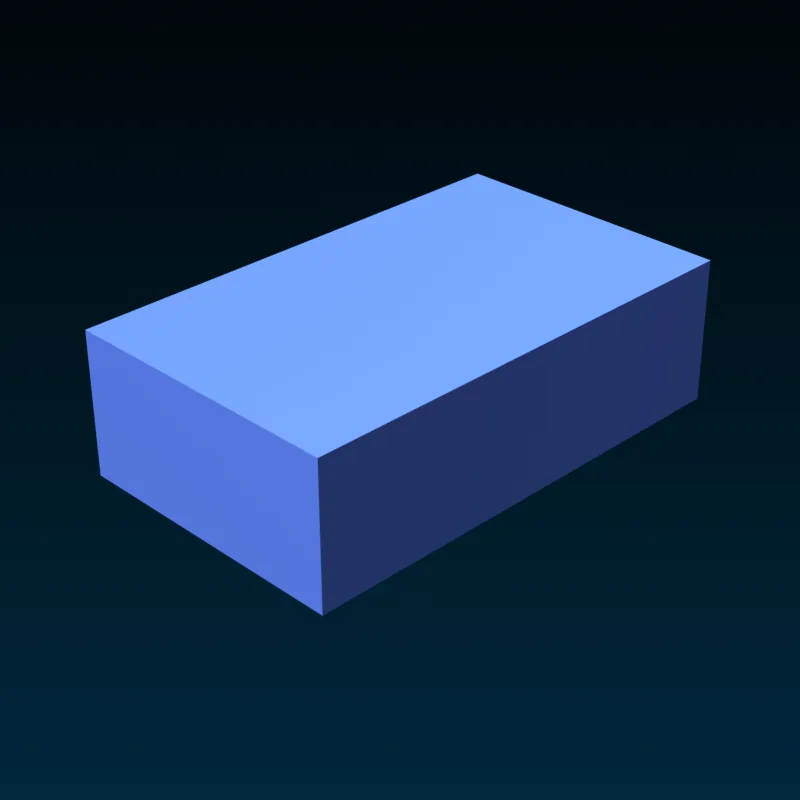
Editorial workflow illustration: plan, build, and test in that order. It is not a Roblox Studio screenshot. Roblox Studio overviewOfficial Roblox Creator Hub reference for a Basic Part. Use simple geometry to test scale and collision first. Roblox Studio overviewOfficial Roblox Studio toolbar reference. Repeat move, scale, and rotate changes so a route can be rebuilt. Roblox Studio overview
Roblox Studio labels, security guidance, and editor behavior can change. Check the current first-party documentation before publishing a public experience:
A small tested loop is the best first Backrooms game
A small tested loop is the best first Backrooms game
Define the player promise, draw one loop, greybox it with Parts, add atmosphere one variable at a time, and Play Test from a fresh spawn. Save a known-good version before you expand. This page owns the broad ‘how to make a Backrooms game’ intent; the Roblox Studio guide owns editor details, and the player guides own routes and mechanics inside Build Your Backrooms. Keep those boundaries visible, cite current Creator Hub documentation, and retest after meaningful Roblox changes.
FAQ
How to make a Backrooms game FAQ
How do I make a Backrooms game in Roblox?
Start with a small player loop: a spawn, one route, one interaction, and a clear ending or reset. Greybox it with Roblox Studio Parts, Play Test from a fresh spawn, then add lighting, sound, entities, and lore one change at a time.
Do I need Roblox Studio to make a Backrooms game?
For a Roblox Backrooms game, Roblox Studio is the practical creation environment. The first version only needs simple Parts, a spawn, basic lighting, and Play Test; complex scripts and models can wait until the route works.
How do I make a realistic Backrooms game in Roblox?
Use consistent proportions, fluorescent light, restrained sound, empty space, and readable landmarks. Test the route before the mood so the horror creates uncertainty without hiding the objective, exit, or controls.
Can I download a Backrooms map for Roblox Studio?
This guide does not promise or recommend an unverified map download. Use first-party Creator Hub documentation and inspect every asset, script, and license in your own place before sharing it.
How big should my first Backrooms game be?
Keep the first playable loop small enough to walk, repeat, and rebuild in one sitting. A compact route gives clearer evidence than a large maze with branches that have never been tested from a player spawn.
What should I test before publishing a Backrooms game?
Check the fresh spawn, camera space, collisions, objective wording, route completion, trigger reset, performance, permissions, asset licenses, and a saved rollback version. Record what was checked and what remains experimental.