Plan a small liminal map, build it from simple Parts, test the route, and keep the project safe to publish.
Studio workflowSimple PartsPlay TestSafe publish
Quick answer
Start with one readable loop, then add the Backrooms mood
To build a Backrooms map in Roblox Studio, block out one short player loop with simple Parts first. Confirm the spawn, walls, turns, collisions, and exit in Play Test. Only after the route works should you tune yellow lighting, sound, materials, or scripted scares. This keeps a realistic Backrooms game understandable and makes each change easy to retest.
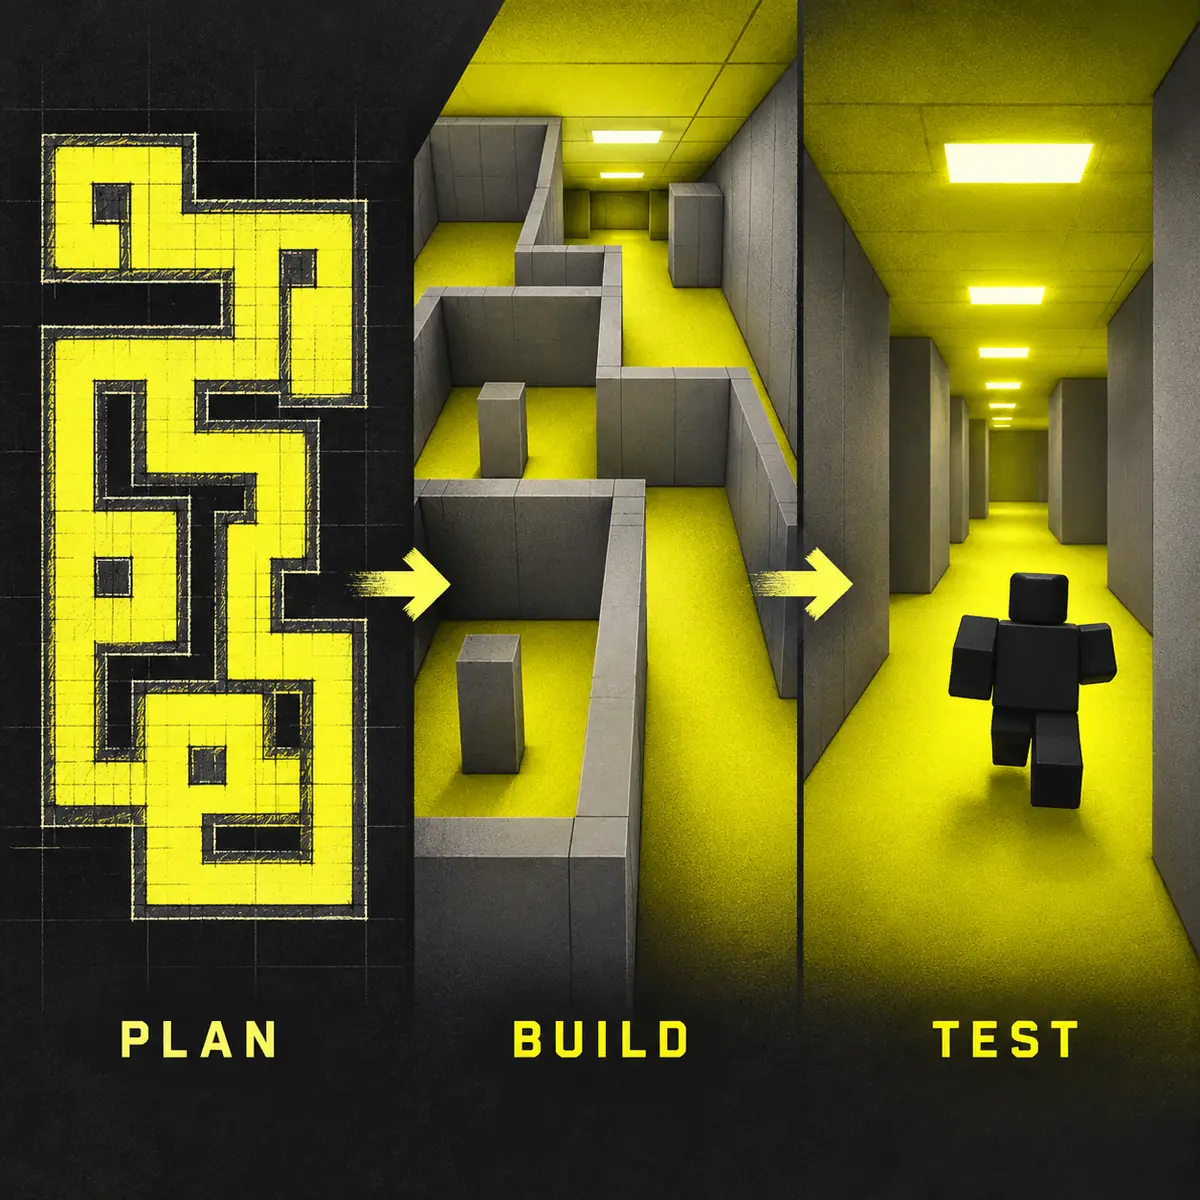
Concept illustration made for this article. It shows a planning workflow, not a Roblox Studio screenshot or official game UI.
Build workflow
How to build a Backrooms map in Roblox Studio in 7 steps
The fastest way to learn is to keep the first place small enough to test in one sitting. Treat every step as a checkpoint. If a later step fails, return to the last checkpoint instead of decorating around a broken route.
Step
What to do
Pass condition
1. Define the loop
Choose one spawn, one main corridor, one turn, and one exit or checkpoint.
A player can describe the route in one sentence.
2. Greybox with Parts
Use basic blocks for the floor, ceiling, and walls before choosing textures.
The map is walkable and the camera has clear sight lines.
3. Set scale
Keep doors, corridors, and turns consistent so the route feels intentional.
The player can turn without clipping or getting lost at every corner.
4. Mark the path
Use lighting, a landmark, or a restrained material change to show where the loop continues.
A first-time player can find the next turn without a guide.
5. Add atmosphere
Tune yellow fluorescent light, fog, sound, and empty space after the blockout works.
Atmosphere supports tension without hiding walls or exits.
6. Play Test
Run the place, check spawn, collisions, camera height, and the full loop on more than one pass.
The route works from a fresh spawn and has a repeatable result.
7. Save and publish
Save a version, write a short change note, and publish only after testing the current file.
You can return to the last good version if a new edit breaks the map.
Studio checklist
Which Roblox Studio tool answers which Backrooms map problem?
Use the smallest tool that answers the current question. A polished material cannot fix a missing wall, and a script cannot fix a route that has never been tested.
Tool or area
Use it for
Common trap
Workspace and Parts
Block out floors, walls, ceilings, and landmarks.
Adding detail before checking the player route.
Move, Scale, Rotate
Repeat a wall module and keep corners aligned.
Changing position and scale together without a note.
Lighting
Create the fluorescent, low-information Backrooms mood.
Making the map so dark that players miss the route.
Play Test
Check spawn, collision, camera space, and a complete run.
Testing only from the editor camera.
Version history
Compare a working map with the next experiment.
Publishing an untested edit over the only good copy.
Creator notes
Start with a playable loop, not a giant level
A Backrooms map feels large because the player cannot see every connection, not because it needs hundreds of rooms. Begin with a spawn, a short hallway, a deliberate turn, and a visible reason to continue. Walk the route before you add an entity, puzzle, or scare. If the loop is confusing in gray blocks, extra props will only hide the problem. Keep a tiny test place beside the main project when you are experimenting. It gives you a clean baseline and lets you compare a new corridor with the version that already worked.
Creator notes
Block out the map with Parts
Basic Parts are enough to answer the first questions: can the player move, can the camera fit, and do walls stop the route where you expect? Use one material or color while you build the greybox. Give repeated walls a consistent width and leave a little space at turns so a player does not scrape every corner. The official Parts documentation is the right reference for inserting and editing these objects. Keep the blockout visually plain until the route, spawn, and exit survive a Play Test.
Creator notes
Use transform tools and repeatable measurements
Select one wall, record its size, then duplicate the module instead of hand-drawing every segment. Move, Scale, Rotate, and snapping make a maze easier to revise when the first route is too tight. Change one dimension at a time and write a short note such as ‘widened main turn’ in the project log. A repeatable measurement is more useful than a screenshot because it tells you what to rebuild. The included official toolbar image shows the tool group; it is a reference for the editor, not a promised layout for every Studio version.
Creator notes
Set the Backrooms mood without hiding the route
The yellow ceiling, flat walls, hum, and long sight lines are atmosphere cues. Add them after the player can already finish the loop. Use lighting and sound to create uncertainty while keeping the next turn readable. A strong contrast between a safe landmark and an empty stretch can do more than a pile of props. Avoid making the whole map black or filling every corner with fog. The goal of a realistic Backrooms game is controlled tension: players should wonder what is ahead, not wonder whether the exit is missing.
Creator notes
Test spawn, collisions, and player flow
Press Play and begin from a fresh spawn, not from a convenient editor camera. Check that the character fits through the narrowest passage, that walls stop movement, and that the camera does not clip through a ceiling. Walk the loop twice, then ask someone unfamiliar with the map to find the next turn. Note where they stop, what they misunderstand, and which landmark helped. This is practical testing advice, not a guarantee about every device. Recheck on the target screen sizes before publishing a public experience.
Creator notes
Add scripts only after the map works
A script can open a door, play a sound, or trigger a scare, but it cannot repair a route that is too wide or a spawn that faces a wall. Keep the first interactive test narrow: one trigger, one response, and one reset path. Use Roblox Creator Hub documentation for the current scripting API and security model. Never ask players to install executors, bypass Roblox protections, or download an unknown map file. A safe Backrooms tutorial teaches a creator how to build and test their own place, not how to copy a risky package.
Creator notes
Save versions and publish cautiously
Before a major lighting, terrain, or script change, save a version and write down what you changed. Test the saved version in the same order: spawn, collision, route, trigger, then exit. If a new edit fails, restore the last good version and isolate the change in a small test place. The phrase ‘Backrooms map Roblox Studio download’ often mixes templates, assets, and unverified files; this guide does not promise a download. Use official Creator Hub documentation and your own place file so you can inspect every object before sharing it.
Visual references
Use real Studio references while you build
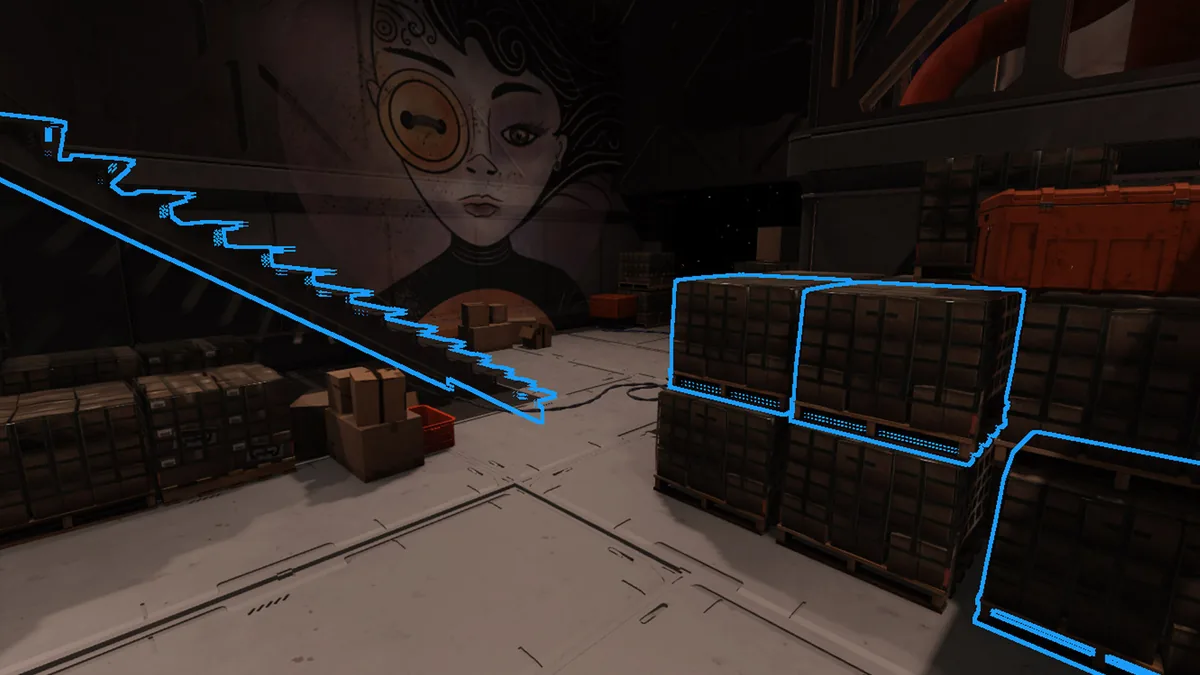
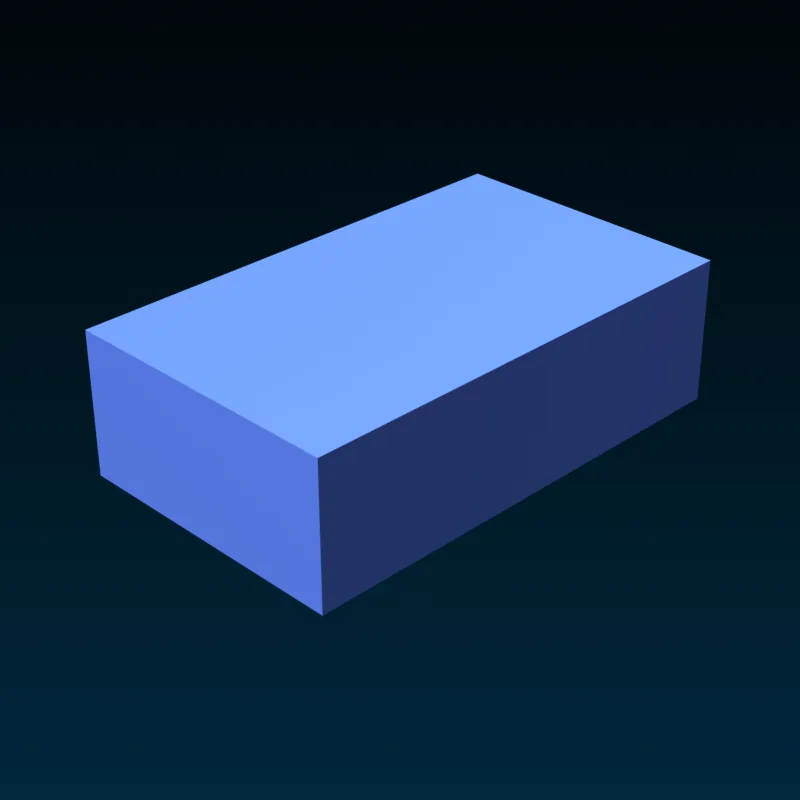
The concept image explains the sequence. The three references below are official Roblox Creator Hub media for object selection, Basic Parts, and transform tools. They show editor concepts rather than Build Your Backrooms gameplay.
Official Roblox Creator Hub media: object selection. Select a part before making one recorded change. Roblox Studio overviewOfficial Roblox Creator Hub media: a Basic Part block. The greybox stage only needs simple parts. Roblox Studio overviewOfficial Roblox Creator Hub media: transform tools. Repeat move, scale, and rotate steps to keep the layout reproducible. Roblox Studio overview
A small tested map is the best first Backrooms build
A small tested map is the best first Backrooms build
The useful workflow is simple: plan one loop, block it with Parts, keep measurements repeatable, add the fluorescent mood, and Play Test from a fresh spawn. This page targets the Roblox Studio creation intent, while the Build Your Backrooms player guides cover routes, layouts, monsters, and game mechanics inside the published experience. Keep those intents separate, cite the current Creator Hub documentation, and retest after every meaningful Studio or Roblox update.
FAQ
How to build a Backrooms map in Roblox Studio FAQ
What should I build first in a Backrooms map?
Build one small loop with a spawn, corridor, turn, and exit. Confirm that the player can finish it before adding props, monsters, or scripted scares.
Do I need scripts to make a Backrooms map in Roblox Studio?
No. Parts, a spawn, lighting, and Play Test are enough for a first map. Add one small script only after the route and collisions work.
How do I make a realistic Backrooms game in Roblox?
Use readable proportions, fluorescent lighting, restrained sound, and empty space. Test the route first so atmosphere adds tension without hiding the next turn.
Can I download a Backrooms map for Roblox Studio?
This guide does not recommend an unverified download. Use official Creator Hub references and inspect every asset in your own place before sharing it.
How large should my first Roblox Studio Backrooms map be?
Keep it small enough to walk and retest in one sitting. A compact loop gives you clearer feedback than a large maze with many untested branches.
How do I test a Backrooms map before publishing?
Run from a fresh spawn, check collisions and camera space, walk the full loop twice, test each trigger, then save a known-good version before publishing.